ServicesDrywall Finishing
Drywall Finishing in Harrison
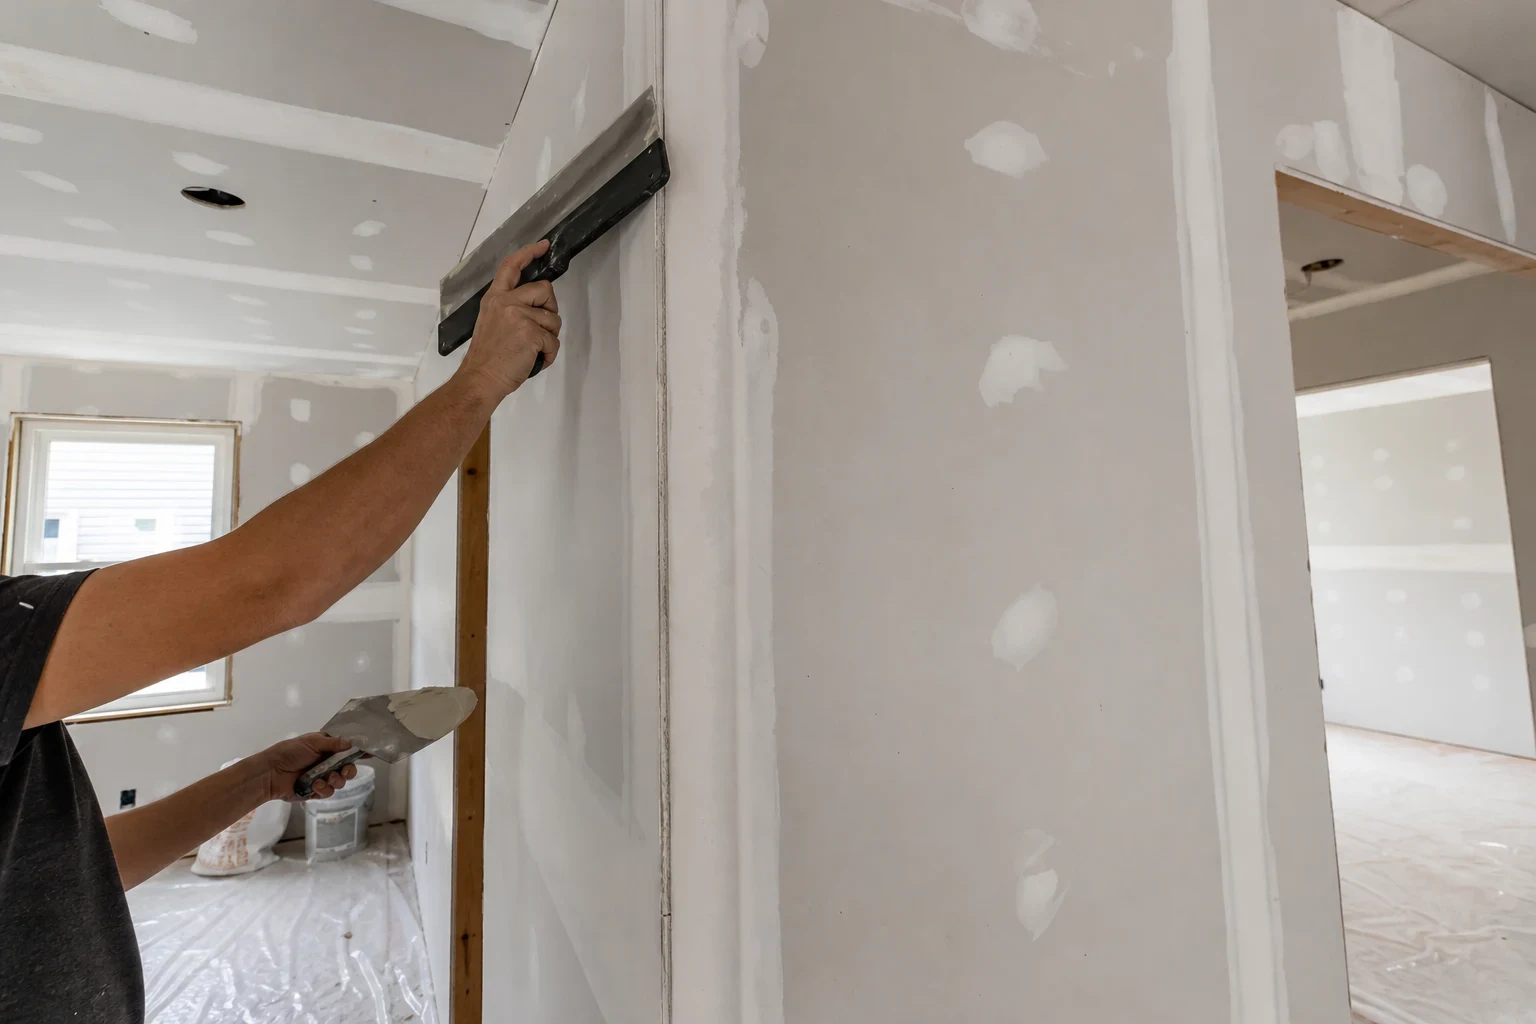
We tape, coat and sand drywall so the joints, screws and corners disappear under paint. We pick the tape, compound and bead for each room and explain why, so you know what goes on your walls before we open a bucket.
What drywall finishing covers and when you need it
Once the sheets are screwed to the framing, the wall is still a patchwork of paper edges, fastener heads and open seams. Finishing turns that into one flat plane. Every joint gets bedded tape, outside corners get bead, screw heads get filled, and joint compound is built up in progressively wider coats until the seams feather out. Rushed work shows up as ridged joints and dimpled screws, and low sun crossing the wall will find every one of them.
You need this service after new drywall hanging, after a large section has been cut out and replaced, or when a previous finisher left visible seams. Older homes around Harrison often mix fresh board with original plaster, and getting that transition flat is mostly a finishing problem.
Our approach is to talk materials first. Paper tape or mesh, all-purpose or setting compound, metal or paper-faced bead: each choice changes how the wall holds up and how long the job takes, and we tell you which we are using and why.
What goes into a proper finish
Tape chosen for the joint
Paper tape is our default for flat seams and inside corners because it does not stretch and resists cracking. Fiberglass mesh is faster but weaker, so we use it only with setting-type compound, which bonds harder than premixed mud.
Outside corners protected with bead
We cover every outside corner with either metal bead or paper-faced bead. The paper-faced type is embedded in compound, so it holds tighter than nailed-on metal and is less prone to edge cracks. That matters on corners that get knocked by furniture and vacuums.
Compound matched to the coat
We often bed tape with a setting compound, then switch to a lighter all-purpose or topping mud for finish coats. Setting compound cures by chemical reaction and shrinks little; topping mud sands easily and leaves a smoother face.
Screw and fastener spotting
Every fastener head gets two or three passes. Underfilled screws are the most common reason a freshly painted wall shows a grid of dimples.
Sanding with the dust contained
Between coats we work the surface over with fine-grit screens and sanding sponges, then hold a work light low against the wall to catch any ridge. Floors get covered and the room is closed off so dust stays in a clean work area.
Primer-ready surface
We leave the wall ready for a drywall primer, which seals the different porosity of paper and compound. Skipping primer is how joints flash through a single coat of paint.
When a wall shows the finish has failed
Joint lines showing under paint
If you can trace the board seams after painting, the compound was not feathered out far enough or it shrank as it dried. A wider skim across the joint usually fixes it.
Cracked or peeling tape
Tape that lifts or splits along a seam was often bedded in too little mud. Paint will not hold it down, so the loose section gets cut away and fresh tape is bedded in its place.
Rows of popped screws
Small round bumps in a line usually point to fasteners that backed out as framing dried. We reset them and re-spot the heads.
New board that is hung but bare
If a wall is up but untaped, or was left at a rough first coat, it needs finishing before any paint goes on.
Dented or rusting corners
Damaged outside corners need new bead. Rust bleeding through paint means the metal bead was never fully covered.
How a finishing job runs
- 1
Walkthrough and material plan
We look at the board, the lighting and the paint sheen you plan to use. Then we tell you the finish level we recommend and the tape, bead and compound behind it.
- 2
Prep and protection
We cover floors, mask openings and set up so dust and drips stay in the room we are working in.
- 3
Tape and first coat
Seams and corners are taped and bedded, bead goes on, and fasteners get their first fill. Setting compound lets us recoat the same day when the schedule calls for it.
- 4
Fill, skim and sand
Second and third coats widen and flatten each joint. We sand between coats and check under raking light, adding a full skim coat where a Level 5 finish is needed.
- 5
Final check and cleanup
We walk the wall with you, mark anything that needs another pass, and clean up before we leave.
What moves the price of drywall finishing
We quote finishing by the job after seeing the walls, because square footage alone does not tell the story. The finish level, the number of corners and the condition of the hanging all change the hours. We explain each line so you can see where the cost comes from.
- Finish level
- A Level 4 finish suits most flat or eggshell walls. A Level 5 skim coat over the entire surface adds material and a full extra day, but it is the right call for glossy paint or walls under strong window light.
- Corners, angles and openings
- Each outside corner, window return and archway needs bead and careful feathering. A room full of angles takes more time than a long flat wall.
- Quality of the hanging
- Wide gaps, uneven board edges or butt joints in the middle of a wall take extra compound and passes to flatten.
- Drying conditions
- Humid summer weather slows premixed mud. Switching to setting compound keeps the schedule but costs more per bag.
- Ceilings versus walls
- Overhead finishing is slower and needs staging. Textured ceilings add texture matching to the scope.
Drywall finishing questions
Something not covered here? (973) 397-5568
What is the difference between a Level 4 and Level 5 finish?
Level 4 means joints and fasteners have three coats, feathered and sanded, which works under flat and eggshell paint. Level 5 adds a thin skim coat over the whole wall so the paper and compound have the same texture. We recommend it for semi-gloss paint, dark colors or walls lit from the side.
How long does finishing take?
With premixed compound, each coat needs to dry overnight, so a typical room runs three to four visits. Setting compound can shorten that because it hardens in a set time rather than drying out. We tell you which we are using and what that means for your schedule.
Do you paint after finishing?
We leave the walls smooth and ready for primer and your painter. For small repaired areas, our paint touch-ups service can blend the patch into the surrounding wall.
Can you finish new drywall next to old plaster?
Yes. The board and plaster usually sit at slightly different depths, so we build the joint out and feather it several feet wide. Taping the transition with paper tape in setting compound keeps it from cracking as the two materials move differently.
Why do some finished walls crack later?
Most cracks come from mesh tape used with premixed mud, tape bedded too dry, or corners without proper bead. Our tape and compound choices are made to avoid those failure points.
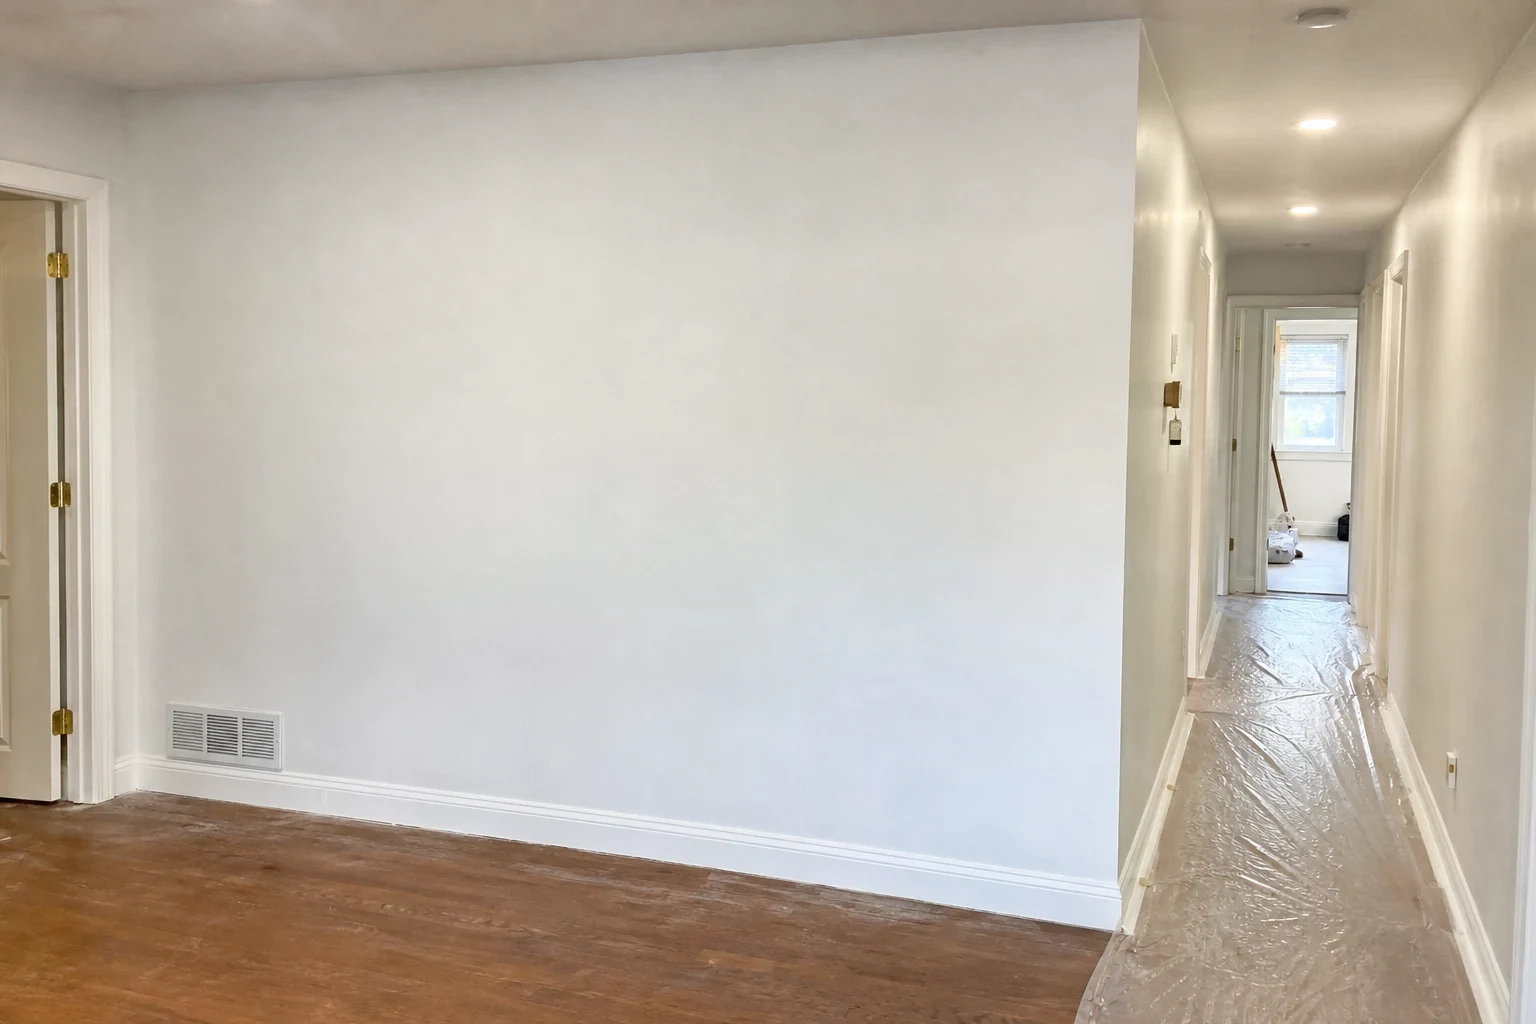
Get walls that look flat under any light
Give us a rough picture of the space, what shape the board is in and the paint sheen you are planning. We will explain the finish level and materials we would use and set a time to see the walls.