ServicesSurface Prep and Sanding
Surface Preparation and Sanding in Harrison, NJ
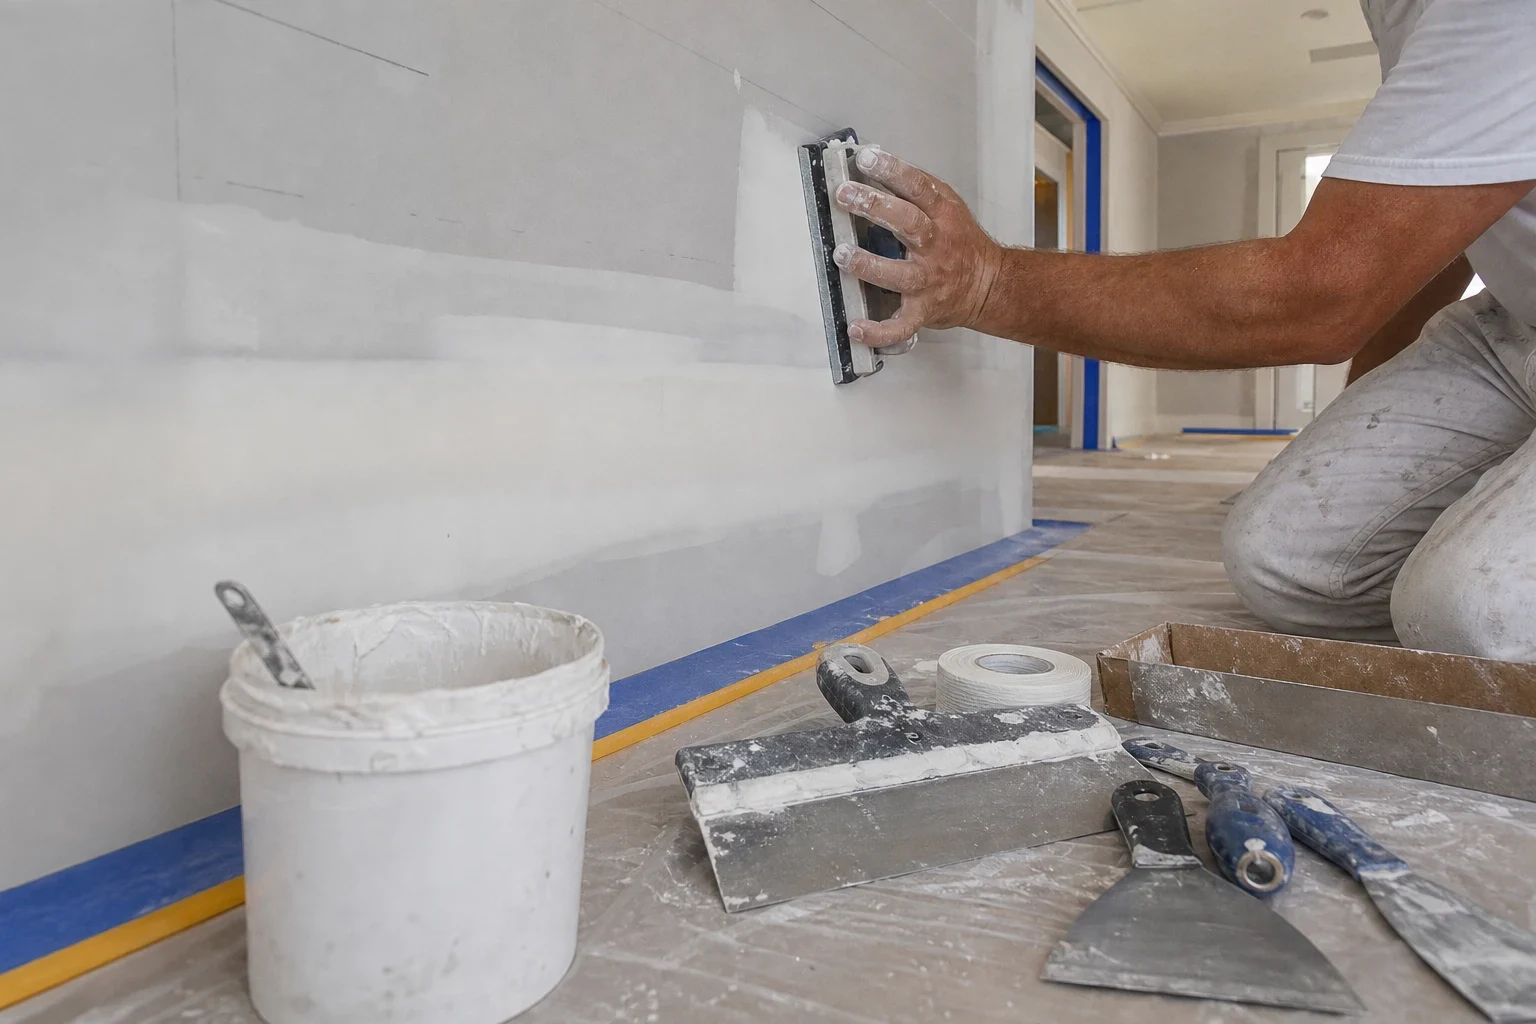
Paint shows every ridge, pinhole and patch edge underneath it. We fill, skim, sand and prime your walls and ceilings with compounds and grits chosen for the surface in front of us, so the finish coat goes on flat and dries even.
The work between a repaired wall and a finished one
Surface preparation is everything that happens before the finish coat: filling dents and nail pops, skim coating rough areas, sanding to a flat plane, removing dust and priming. Skip a step and it shows. Low afternoon light from a window will pick out a sanded ridge or a patch that soaked up paint differently from the wall around it.
Most of the job is picking the right material. Setting-type compound, often called hot mud, hardens by chemical reaction, so it handles deep fills without much shrinkage, but it sands hard. Lightweight all-purpose compound sands easily and suits final coats, yet it shrinks in deep holes and needs a second pass. Topping compound goes on thin and feathers out smooth. We use each where its trade-offs work in your favor.
Many older homes around Harrison have plaster walls carrying decades of paint, often with a glossy oil-based layer somewhere in the stack. New latex paint will not grip that layer well, so prep there means scuff sanding and a bonding primer, not just a fresh coat.
What our surface prep includes
Checking the surface in side light
Before any compound goes on, we sweep a bright lamp across the wall at a low angle. That shadow light exposes high spots, dips, tape lines and old patches that look flat face-on, and each one gets a pencil mark.
Filling and small repairs
Nail pops are reset with a screw and spotted. Dents, anchor holes and hairline cracks are filled with compound matched to their depth. Anything larger than a small hole moves to drywall patching.
Skim coating
Where a wall is rough, scarred from wallpaper removal or patched in many places, we skim the whole surface with thinned compound. One or two thin coats give a uniform face that sands flat.
Sanding with the right grit
We level with 120-grit and finish with 150 to 180, using sponges at corners and edges. Coarser paper tears the drywall's paper face and leaves fuzz that shows through paint.
Dust control and cleanup
Plastic sheeting goes over doorways, floors and vents, and we sand with dust-extracting tools connected to a HEPA vacuum. Walls are wiped down and the room is left as a clean work area.
Priming matched to the surface
PVA drywall primer seals new compound so it does not flash through paint. Shellac-based primer blocks old water stains, and bonding primer gives paint something to hold on glossy oil finishes.
Signs your walls need prep before paint
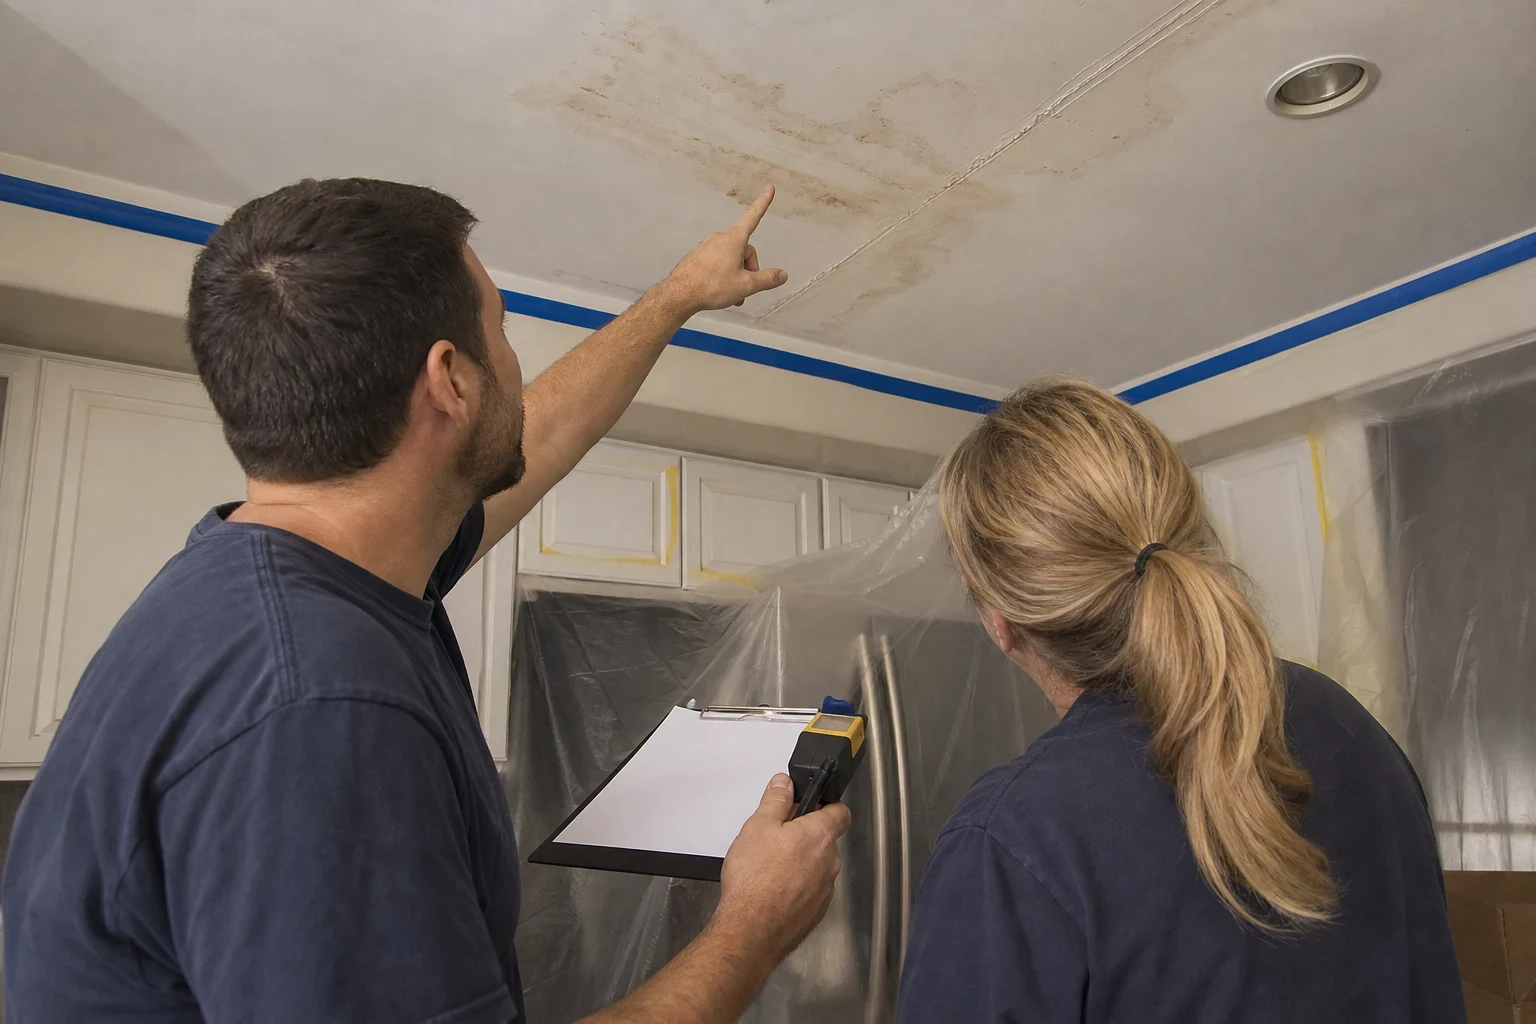
- Patches show through paint
- Dull or shiny spots over repairs, called flashing, mean the compound was never primed. It absorbs paint at a different rate than the surrounding surface.
- Ridges and tape lines in side light
- Seams that were not feathered wide enough cast small shadows. Sanding and a skim coat flatten them.
- Fuzzy or torn paper
- Over-sanding or peeled tape leaves raised paper fibers. They need sealing with primer before any compound goes over them, or the fuzz telegraphs through.
- New paint peeling off old
- Latex rolled over glossy oil paint often lifts in sheets. That surface needs deglossing and a bonding primer first.
- Residue after wallpaper removal
- Leftover paste can crack and craze paint applied over it. It has to be washed off and the wall sealed and skimmed.
How a prep day runs
- 1
A phone conversation first
You tell us about the room, the surfaces and any old repairs. We ask about the age of your home and the paint already on the walls, then set a time to look.
- 2
Seal off the work area
Before sanding starts, we shift or cover your furniture, lay drop cloths along the floor and tape plastic across each doorway. Supply and return vents get covered as well, so dust stays out of the rest of your home.
- 3
Fill, skim and let it dry
Compound goes on in thin coats. Drying-type compound needs time between coats, and humid summer days slow it down, so a skim job can run over more than one visit.
- 4
Sand, check, prime, clean
We sand, recheck in low-angle light, touch up anything that still shows and prime. Then we vacuum, wipe surfaces and pull the plastic.
What sets the price of prep work
The condition of the surface drives the price more than the size of the room. Filling a handful of spots on one wall is a short visit, while a full skim coat across a room takes several. We look at the walls before giving you a number and spell out which steps that number covers.
- Area and number of surfaces
- Square footage matters, and so does whether ceilings, closets and stairwells are included.
- Spot filling or full skim
- Scattered nail holes take far less material and time than skimming a wall scarred by wallpaper removal or years of patches.
- What is already on the wall
- Glossy oil paint needs deglossing and bonding primer. In homes built before 1978, old paint may contain lead, which calls for testing and changes how sanding is done.
- Access and drying time
- High ceilings, stair walls and furnished rooms add setup time. Each coat that has to dry before the next can mean another trip.
Surface preparation questions
- Can I just paint over the wall without prep?
- You can, but paint magnifies flaws instead of hiding them. Unprimed compound flashes, ridges cast shadows and paint can peel off glossy layers. A day of prep usually decides whether the finish coat looks right.
- How much dust will there be?
- Some, but it is contained. We seal the room with plastic, sand with tools connected to a HEPA vacuum and wipe down surfaces at the end. Most of the fine dust never leaves the work area.
- My house is old. Is it safe to sand the existing paint?
- Paint in homes built before 1978 may contain lead, and sanding it creates hazardous dust. We talk about testing before anyone sands old paint. If lead is present, the approach changes, with less dry sanding and more careful containment.
- What is the difference between skim coating and sanding?
- Sanding removes high spots. Skim coating adds a thin layer of compound to fill low spots and even out texture across the whole wall. A badly scarred wall usually needs both.
- Will you match my wall texture?
- Yes. If your walls have a texture, we smooth the repaired area first and then do texture matching so it blends with the rest of the wall. Small areas may then need a paint touch-up.
Get the surface right before the finish coat
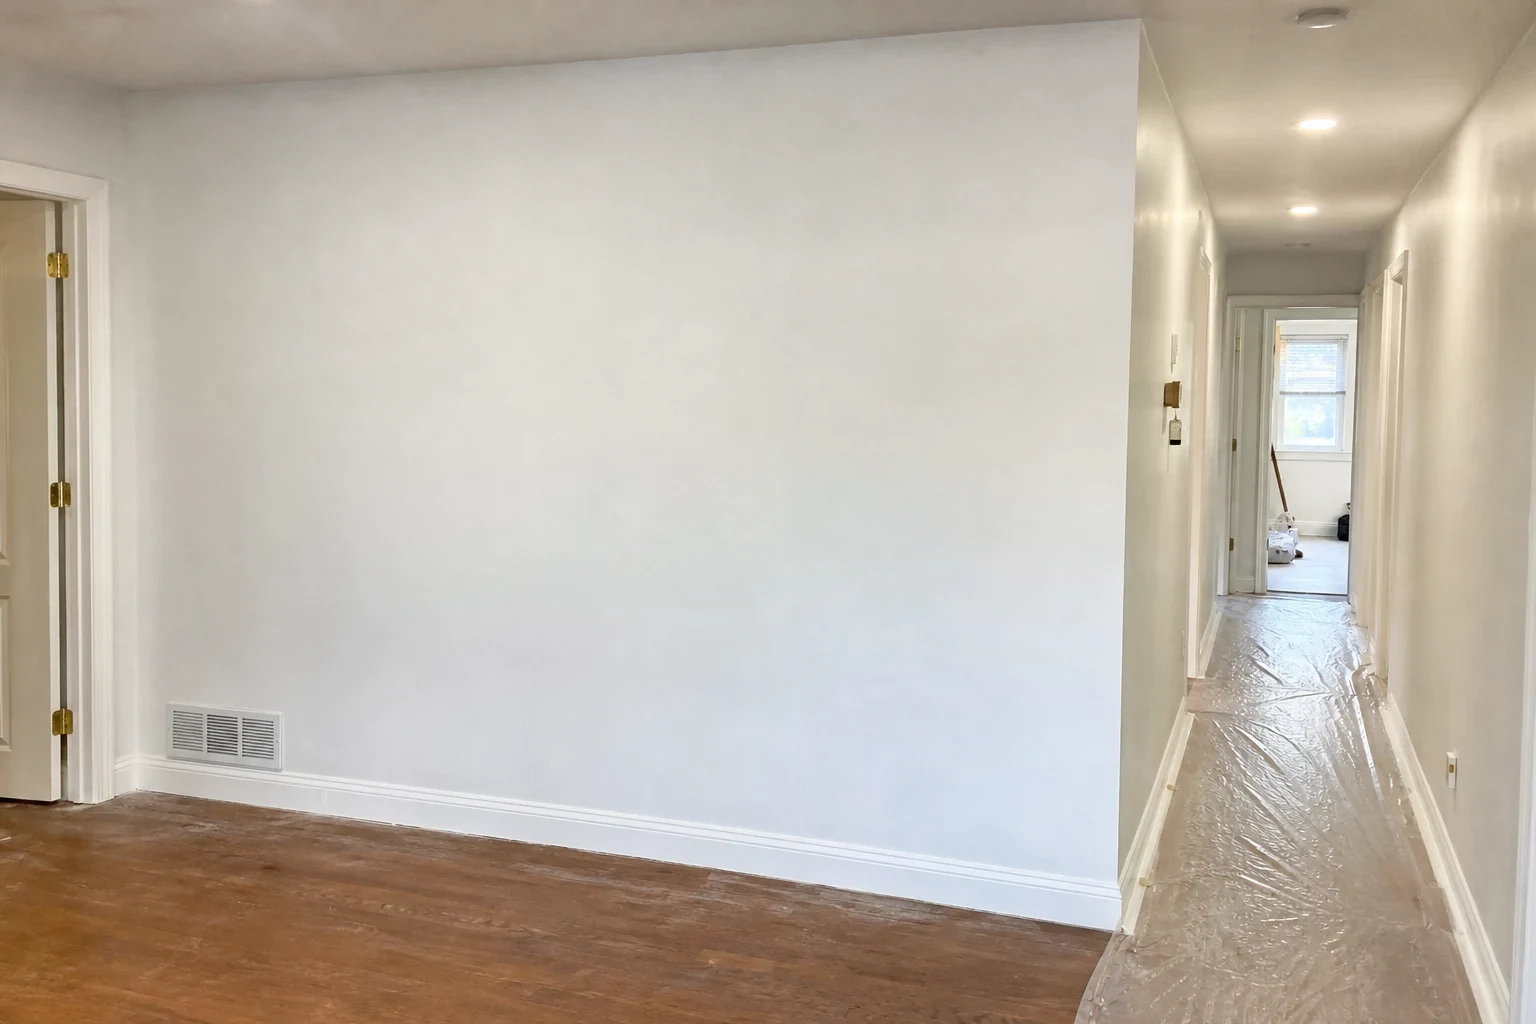
Tell us what the walls look like now and what is going on them next. We will explain which compound, grit and primer fit, and what the work involves.