ServicesDrywall Repair
Drywall Repair in Harrison, NJ
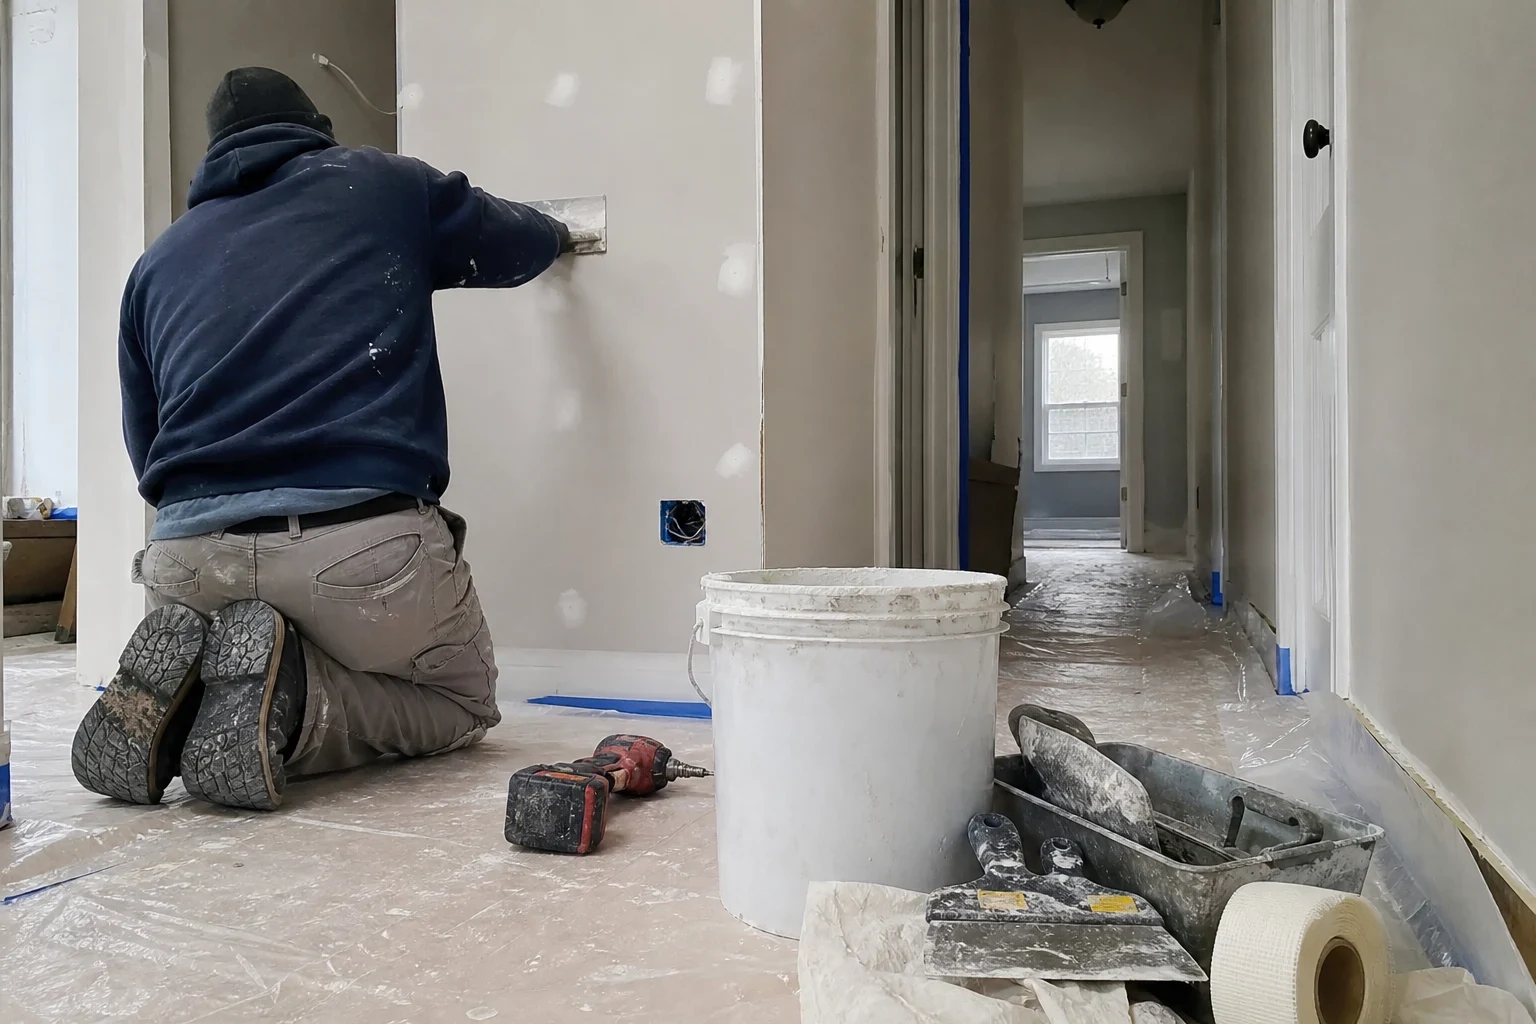
We repair damaged drywall by matching what is already in your wall: the board thickness, the tape, the compound and the surface texture. You get a repair that sits flat, holds up and disappears under paint, with a clean work area when we leave.
What drywall repair covers and when it makes sense
Repair is the right fit when the damage is confined to one section of wall or ceiling and the studs and joists behind it are still solid. That includes doorknob holes, cracked seams, popped screws, corner bead that has been knocked loose, and board softened by a leak that has since been fixed. If a whole room needs new panels, our drywall hanging page is the better place to start.
Most bad repairs fail because of the wrong material, not the wrong effort. Mesh tape over a moving seam cracks again within a season. Premixed compound used for a deep fill shrinks and leaves a dish. We choose the board, tape and compound for the job in front of us and explain why before we start.
Many houses around Harrison mix original plaster with later drywall additions, so we check what your wall is made of before we cut anything. That one step decides how the repair is built.
What we do on a drywall repair
Cutting back to solid material
We cut out crumbled or water-softened gypsum until we reach firm board and dry paper. Patching over weak material is why so many repairs bulge later.
Matching board thickness
Most interior walls use 1/2-inch board, ceilings and garage walls often use 5/8-inch Type X. We match the thickness exactly so the patch does not sit proud or sunken.
Backing and fastening
Larger openings get wood or metal backer strips so the new piece is screwed to something solid. Popped nails are reset with drywall screws, which hold far better than the original ring-shank nails.
The right tape and compound
Paper tape bedded in setting compound goes on seams and cracks that move. Fiberglass mesh is reserved for small, stable patches. Deep fills get a setting-type compound that hardens chemically and does not shrink, and the finish coats use a lighter, easier-sanding mud.
Texture matching and sanding
We feather each coat wide, sand it flat, and match smooth, orange peel or knockdown texture so light across the wall does not give the repair away.
Primer, then a paint touch-up
Fresh joint compound soaks up paint faster than the painted surface around it, which leaves a dull spot painters call flashing. A coat of primer evens that out. When the original wall color is still sitting on a shelf somewhere in your home, we can use it to blend a paint touch-up over the patched section.
Signs your drywall needs repair
- Cracks running from door and window corners
- These usually come from the house settling or framing shrinking. Paper tape and setting compound handle the movement better than a skim of spackle.
- Round bumps in a line
- Those are nail pops. The fastener has backed out as the studs dried, and it will keep pushing the paint until it is reset.
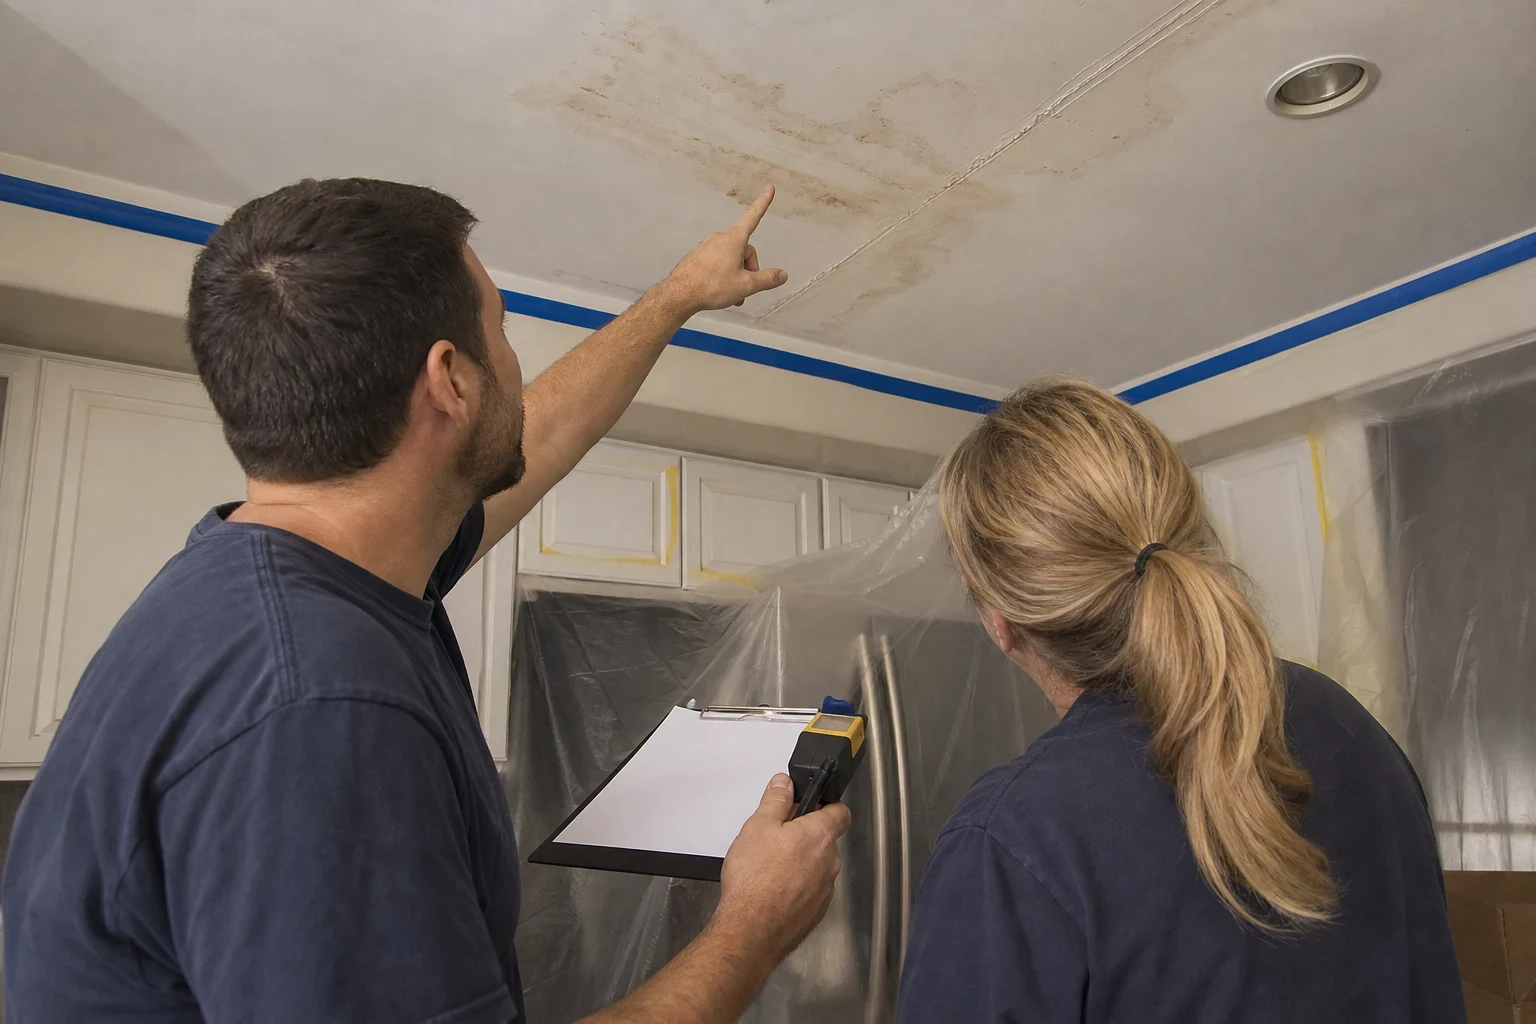
- Soft, stained or bubbling board
- Gypsum loses strength once it soaks up water. If the leak is fixed and the spot still gives under your thumb, that section needs to come out.
- Dented or cracked outside corners
- Damaged metal or paper-faced corner bead lets the compound flake off. We replace the bead rather than filling over it.
- A hole you can see into
- Anything past a few inches needs backing and a new piece of board. Small ones may only need drywall patching.
How a repair day runs
- 1
Look and explain
We inspect the damage, check for moisture with a meter where staining is involved, and tell you what material we plan to use and why.
- 2
Protect the room
We lay canvas cloths over the floor, shift or cover anything near the work, and hang plastic across doorways when there is a lot of sanding ahead.
- 3
Cut, back and hang
Damaged board comes out, backing goes in, and the new piece is fastened and taped.
- 4
Coat, sand and texture
Setting compound lets us put on more than one coat in a visit on smaller jobs. Larger repairs usually need a return trip once the compound has fully cured.
- 5
Prime and clean up
We prime, vacuum the dust, and leave the room ready to use.
What moves the cost of a drywall repair
We price each job by what it actually takes, not by a flat rate per hole. The factors below decide most of it, and we walk you through them on the phone and again when we see the wall.
- Size and number of repairs
- Grouping several damaged spots into one visit brings down what each one costs, since setup, cleanup and cure time are spread across all of them instead of repeated.
- Hidden conditions
- Once the board is open, we sometimes find soaked insulation, split or rotted studs, or old plaster over wood lath. Each of those adds work that a plain drywall wall never needs.
- Texture and finish level
- A smooth wall under strong window light needs more coats and careful sanding than a textured one, where small variations hide.
- Ceilings and height
- Overhead work is slower, and stairwells or tall ceilings may need scaffolding or extra ladders.
- Number of visits
- Deep fills and large patches need cure time between coats, which can mean a second or third trip.
Drywall repair questions
- Will I be able to see where the wall was repaired?
- Done right, the repair disappears once primer and paint go on. When a patch does show, the cause is almost always compound that was not feathered out far enough or a paint sheen that does not match. We spread each coat well past the damage and rake a work light across the wall before priming to catch any ridge.
- My house has old plaster walls. Can you still repair them?
- Often yes. Plaster is thicker than standard drywall, so we shim the new board out to the right depth or build up the area with setting compound. We look at the wall first and tell you which approach suits it.
- Do you fix the leak that caused the water damage?
- No. The source of the water has to be repaired first, and the wall has to be dry before new board goes in. We check moisture levels before closing anything up, because sealing in wet framing invites mold.
- Why not just use a stick-on mesh patch kit?
- Those kits work on small, stable holes. On cracks that move or on larger holes they tend to telegraph a raised square or crack again along the edge. Paper tape, backing and setting compound take a little longer but stay put.
- Do you need to repaint the whole wall?
- Not always. We prime the repair and can do a paint touch-up with your existing paint. Paint that has faded in sunlight, or a sheen we cannot match closely, may leave the touched-up area a shade off from the rest of the wall. We point that out up front so you can decide whether a full repaint is worth it.
Tell us what happened to the wall
Give us a rough size and location of the damage and we will explain which materials fit the repair and what the visit will involve.